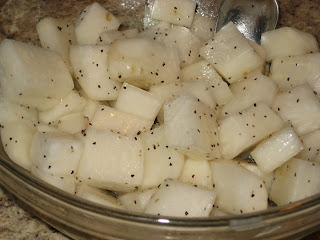
Take a diakon radish and peel it with a veggie peeler, Cut into 1 inch cubes and put in a bowl with 1 tsp salt and give it a quick stir. Let the radish set out at room temperature for 30 minutes. You will notice that the radish will have released some liquid (pictured below) Rinse the radish to remove the excess salt and water and add 1 Tbsp white wine vinegar, 1/4 tsp pepper and 1/4 tsp sesame oil. Stir and refrigerate over night. The longer they set in the liquid the better they will be.
CROSSFIT LAKE CITY'S
NUTRITIONAL BLOG
Friday, November 19, 2010
The Veggie of the Week.... Diakon
Diakon is a white radish from Japan, having a long root that is eaten raw, pickled or cooked. Its also known as a Chinese radish, Japanese radish, or an Oriental radish. From the Japanese word Dia (large) Kon (root) this vegetable is in fact a large radish and is mild, crisp and slightly sweet in flavor. Diakons flesh is fresh, juicy and white, while the skin can range from cream colored to black. It ranges from 6-15 inches in length with a diameter of 2-3 inches. Choose a diakon that is firm and had a smooth unwrinkled skin. One serving of diakon (3oz) provides us with over 30% RDA for Vitamin C and contains the active enzyme myrosinase. Here is some information on the enzyme http://www.answers.com/topic/myrosinase.
Labels:
Clean,
Diakon,
Eat veggies,
Paleo,
Primal,
Snack,
Veggie of the week
Wednesday, November 17, 2010
A Fabulous Find
I Love Costco, even though there is rarely Paleo friendly samples... This is my new favorite Costco find, It is clean and smokey and delicious! You can either heat it up on the stove or in the microwave. It contains 2 lbs of smoked pork goodness and costs $9.99, so worth it! I made it and ate some over sauteed cabbage and onions and then had some plain for lunch the next day. I bet it would be super fantastic to mix the pork with clean BBQ sauce and eat in a lettuce wrap yummy!


Monday, November 15, 2010
Beef Jerky 2 Ways
I am always looking for tasty ways to get protein and its a bonus if they are easy to make and easy to take along to work or for a pre-workout snack. Both of these jerky recipes fit the bill. If you went to the Halloween party this is the recipe I used for the jerky I was handing out. I have a super sweet food dehydrator and its what I used to make the jerky, if you don't have one you can always cook it in the oven at 200 degrees for about 5 hours.
I got this dehydrator at Cabela's for $79.99 and Its been great! With the rectangular shape you can fit so much more on the screens then the round versions that you typically see.
For the traditional Jerky I used a roast that I had the butcher at Safeway cut super thin when it was on sale for $1.99 a lb. ( It happens often in the fall watch the ad's and stock up, jerky usually runs about $8.99 a lb so you save big when you make it yourself!). I made a marinade and soaked the meat for 24 hrs. 1/2 C Tamari (wheat free soy sauce), 1/2 C Pineapple juice, 1 tsp each Salt and Pepper, 2 tsp each Chili powder and Garlic powder, a dash of nutmeg and 1 Tbsp Vinegar (this helps tenderize the meat). I also made a little rub out of the dry spices and sprinkled it on the meat as I put it on the trays to dry.

Peel the back sheet of paper off and place on the rack then peel off the top sheet.

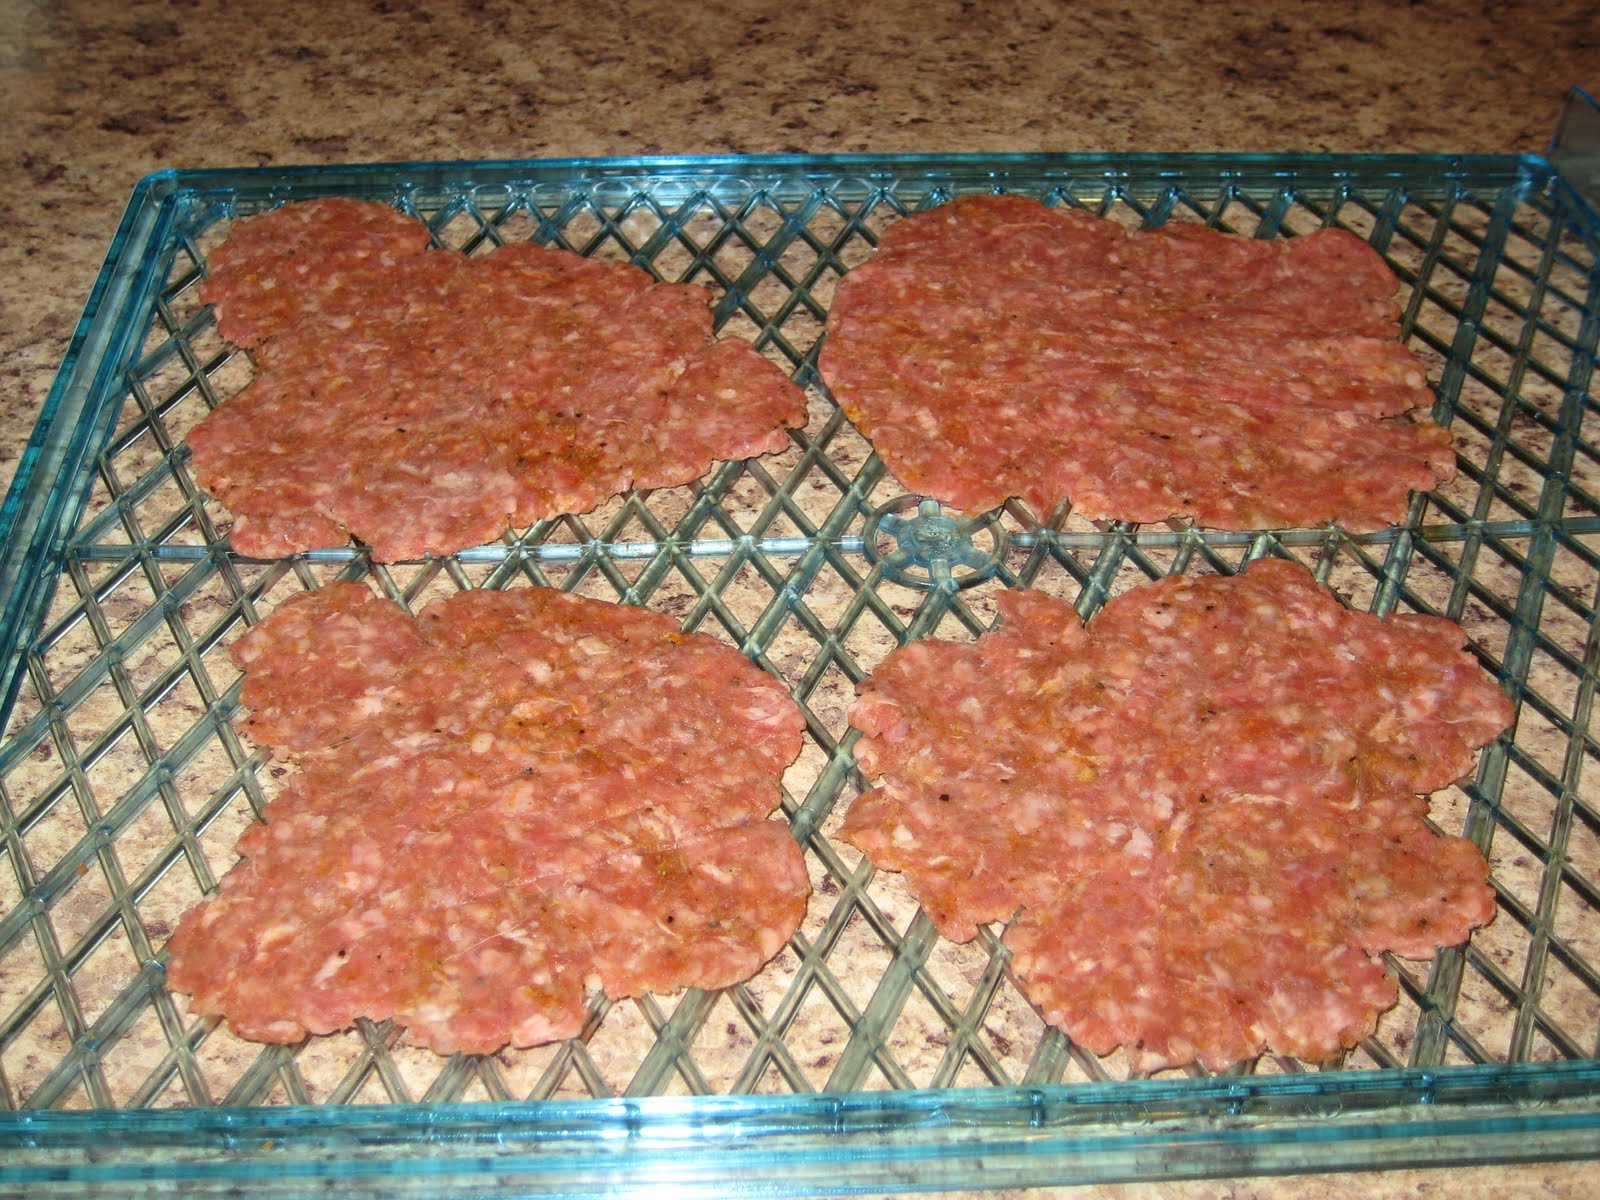
You have a few options here, you can either roll it into big sheets that cover most of the surface of the rack or you can make smaller pieces, you just have to roll alot more out! If you do it in a sheet cut a hole in the center to get better circulation.

Here is what they look like when I did them out of 1 Tbsp of meat and rolled them out to make medallions.
Here is the Jerky out of the roast when its all dry and ready to eat.
Here is the medallions, I found that its best to take the ground beef jerky out about 1/2 way and dab it with a paper towel to remove some of the excess grease.
This is the finished ground beef jerky that I made into sheets. I took a pair of kitchen shears and cut it into uniform pieces. I think this way looks pretty legit but I like the medallions better they just seem more caveman to me! You can see in the picture the grease that I had dabbed of the jerky during cooking. It really does need to be done I'm not sure how it would turn out if it was left.
I got this dehydrator at Cabela's for $79.99 and Its been great! With the rectangular shape you can fit so much more on the screens then the round versions that you typically see.
For the traditional Jerky I used a roast that I had the butcher at Safeway cut super thin when it was on sale for $1.99 a lb. ( It happens often in the fall watch the ad's and stock up, jerky usually runs about $8.99 a lb so you save big when you make it yourself!). I made a marinade and soaked the meat for 24 hrs. 1/2 C Tamari (wheat free soy sauce), 1/2 C Pineapple juice, 1 tsp each Salt and Pepper, 2 tsp each Chili powder and Garlic powder, a dash of nutmeg and 1 Tbsp Vinegar (this helps tenderize the meat). I also made a little rub out of the dry spices and sprinkled it on the meat as I put it on the trays to dry.For the ground beef jerky I mixed 1 lb of ground beef, 2 tsp each Salt, Garlic powder, Onion powder, Curry powder, 1 tsp Cayenne pepper and 1 tsp Black pepper.
with rolling pin roll it out to 1/4 inch thickness between 2 sheets of waxed paper.

Peel the back sheet of paper off and place on the rack then peel off the top sheet.

You have a few options here, you can either roll it into big sheets that cover most of the surface of the rack or you can make smaller pieces, you just have to roll alot more out! If you do it in a sheet cut a hole in the center to get better circulation.

Here is what they look like when I did them out of 1 Tbsp of meat and rolled them out to make medallions.
Here is the Jerky out of the roast when its all dry and ready to eat.
Here is the medallions, I found that its best to take the ground beef jerky out about 1/2 way and dab it with a paper towel to remove some of the excess grease.
This is the finished ground beef jerky that I made into sheets. I took a pair of kitchen shears and cut it into uniform pieces. I think this way looks pretty legit but I like the medallions better they just seem more caveman to me! You can see in the picture the grease that I had dabbed of the jerky during cooking. It really does need to be done I'm not sure how it would turn out if it was left.
Labels:
Beef Jerky,
budget snack,
Clean,
Crossfit,
Eating clean,
Paleo
The Veggie of the week is... Chayote Squash
Chayote Squash: (Scientific Binomial Name: Sechium edule).
Pronounced: KAY-OH-TEE
Usage: Use like any other squash. Steam, bake, stuff, fry or even eat raw.
Also know as the vegetable pear or christophene, good quality chayote will be unblemished, firm and will have light to medium green skin. The skin can either be rough or smooth. Avoid squash that is soft or has a growth coming out the crack (its a baby plant). Chayote is available year round and peaks September-May.
Chayote squash is very low in saturated fat, cholesterol and sodium. Its a good source of Niacin, B6, Pantothenic Acid, Magnesium and Potassium and a excellent source of Fiber, Vitamins C and K, Folate, Zinc and Copper.
Chayote is naturally grown in Mexico and is used in Spanish and Caribbean cooking.
Pronounced: KAY-OH-TEE
Usage: Use like any other squash. Steam, bake, stuff, fry or even eat raw.
Also know as the vegetable pear or christophene, good quality chayote will be unblemished, firm and will have light to medium green skin. The skin can either be rough or smooth. Avoid squash that is soft or has a growth coming out the crack (its a baby plant). Chayote is available year round and peaks September-May.
Chayote squash is very low in saturated fat, cholesterol and sodium. Its a good source of Niacin, B6, Pantothenic Acid, Magnesium and Potassium and a excellent source of Fiber, Vitamins C and K, Folate, Zinc and Copper.
Chayote is naturally grown in Mexico and is used in Spanish and Caribbean cooking.
Labels:
Chayote Squash,
Clean,
Crossfit,
Eat veggies,
Eating clean,
Mexican
Sunday, November 7, 2010
Spiced Rubbed Chicken
Rub:
1 1/4 tsp Cumin
1 tsp Salt
1/2 tsp Pepper
1/2 tsp Paprika
1/2 tsp Thyme
1/2 tsp Chili powder
1 Lemon
1 3.5-4 lb Chicken
Rinse and pat the chicken dry. Pull the skin from the meat with your hand and liberally apply the rub to the meat. Sprinkle any extra rub on the skin
1 1/4 tsp Cumin
1 tsp Salt
1/2 tsp Pepper
1/2 tsp Paprika
1/2 tsp Thyme
1/2 tsp Chili powder
1 Lemon
1 3.5-4 lb Chicken
Rinse and pat the chicken dry. Pull the skin from the meat with your hand and liberally apply the rub to the meat. Sprinkle any extra rub on the skinThursday, November 4, 2010
Meal on a Budget Part 2
I wanted to make another affordable dinner, In fact lets make this a trend... $10.00 meal for a family of four. My last 10.00 meal was the fish tacos, if you haven't made them yet DO IT! They are so good. I will try and post a few budget meals a month. We are going for simple, affordable and delish. I have been craving grilled cheese dipped in tomato soup, well I couldn't do the grilled cheese part but the soup is do able. It turned out great! It has so much flavor and is extremely easy to make. I did my shopping at Super 1 Foods and included the prices to prove how affordable this dish really is. Enjoy!
1 TBSP Olive oil (.25)
4 Coves garlic (.15)
1 Very finely chopped onion (.45)
2 28oz Cans crushed tomatoes ($2.40)
1 Box chicken stock ($2.00)
20 Leaves fresh basil ($1.98) I only used half the package so this technically is .99
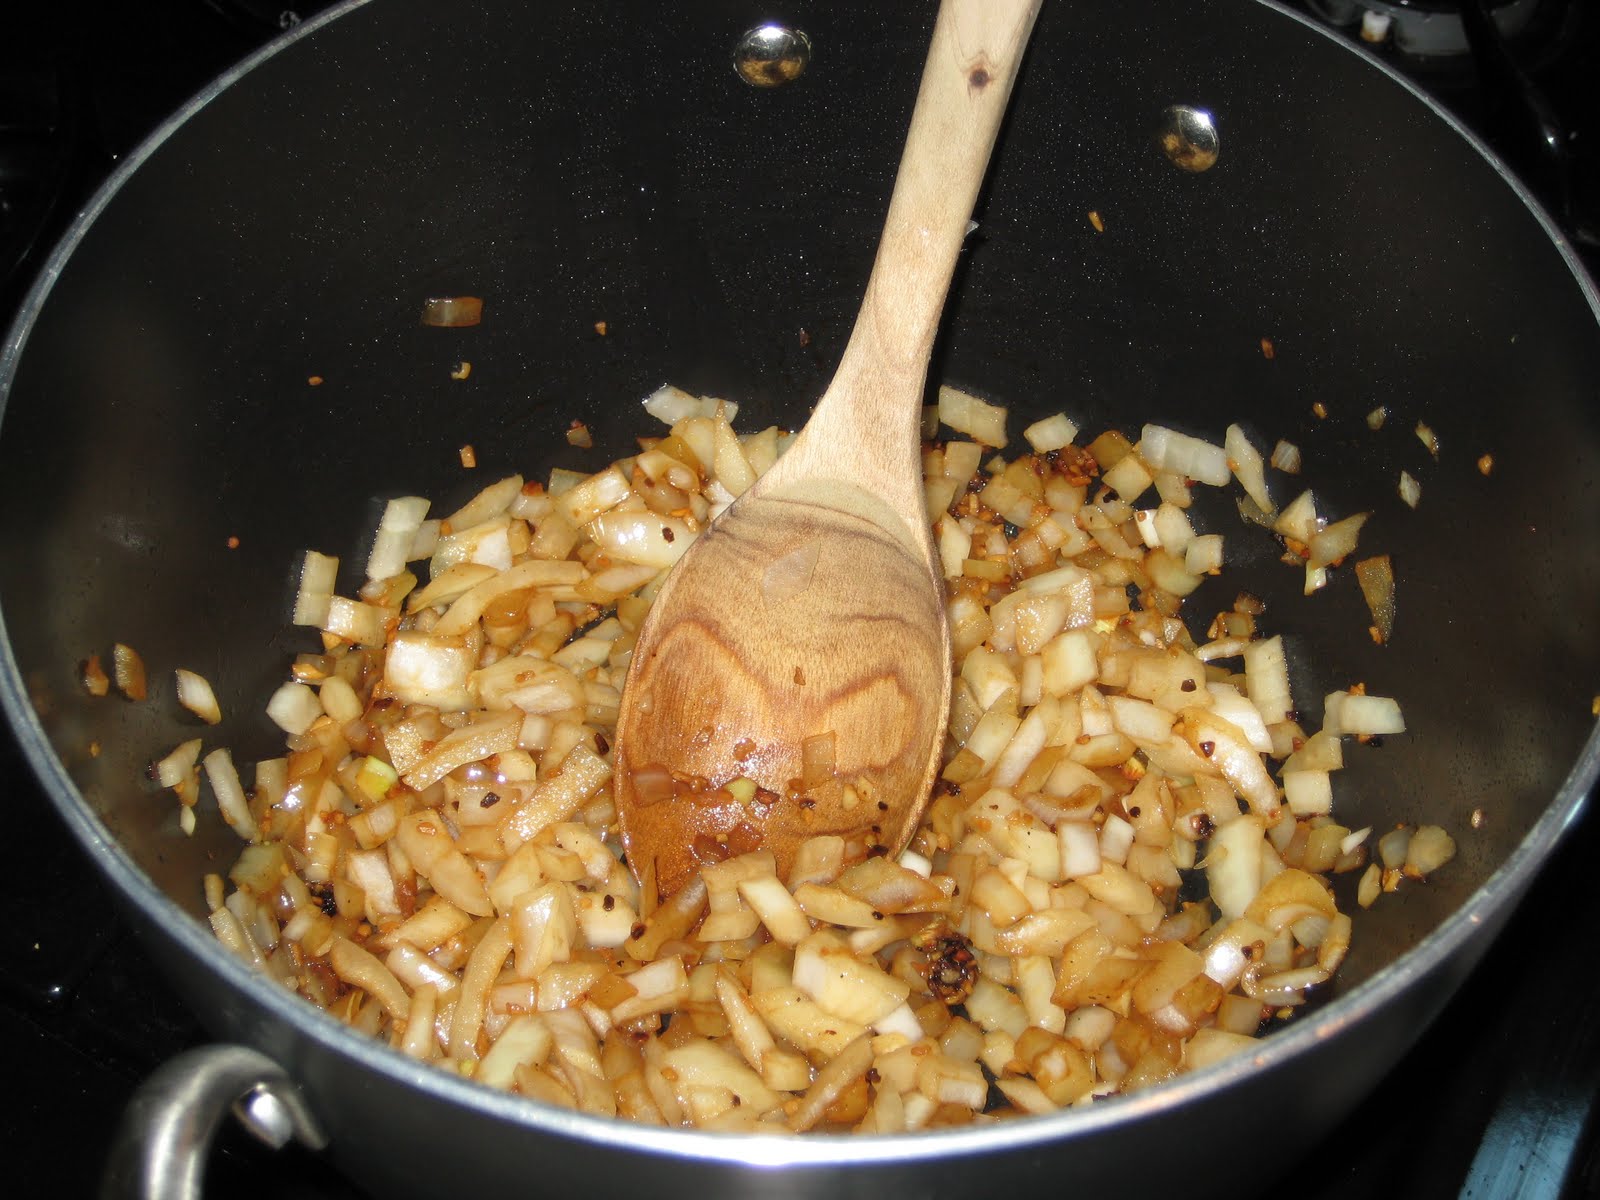
In a 6 qt pot get the oil nice and hot, add the garlic and cook until it starts to brown. Add the onion and saute until it turns a nice caramely color. At this point I added a little sea salt and pepper.
Take the basil and tear the leaves from the stems. Roll the leaves into a little bundle. This is a method for cutting called chiffonade. It will help you get the basil into thin strips. Use a sharp knife and slice the basil as thinly as you can.
1 TBSP Olive oil (.25)
4 Coves garlic (.15)
1 Very finely chopped onion (.45)
2 28oz Cans crushed tomatoes ($2.40)
1 Box chicken stock ($2.00)
20 Leaves fresh basil ($1.98) I only used half the package so this technically is .99
In a 6 qt pot get the oil nice and hot, add the garlic and cook until it starts to brown. Add the onion and saute until it turns a nice caramely color. At this point I added a little sea salt and pepper.
Take the basil and tear the leaves from the stems. Roll the leaves into a little bundle. This is a method for cutting called chiffonade. It will help you get the basil into thin strips. Use a sharp knife and slice the basil as thinly as you can.
Labels:
budget meal,
Clean,
Crossfit,
Paleo,
Tomato soup
Tuesday, November 2, 2010
The Veggie of the Week is...
This week our veggie needed to start with a B, I thought to myself... Broccoli, no that is too common. Hmmmm what could I use?!? I decided one something that has some people in a big stink (hehe) and whats even better I had never even had them before!
Place the saucepan back on the stove and heat on high for a few minutes . Reduce heat to medium. Add oil and garlic; cook and stir for 2 minutes or until it starts to turn golden brown.
Carefully arrange half the sprouts, cut side down, in the hot skillet. Top with half the thyme, rosemary, fennel seeds and salt. Cook uncovered 4 minutes or until the sprouts are well browned. Remove sprouts form the pan and repeat with the remaining sprouts and spices.
BRUSSELS SPROUTS
Brussels Sprouts are members of the cabbage, broccoli and cauliflower family. They are a cruciferous vegetable and contain 80 nutrients! They are high is vitamins K, C and A. They are higher in glocusinolate than other members of its family. Containing levels even higher than Kale and other greens. Glucosinolates are important phytonutrients for our health because they are the chemical starting point for a variety of cancer protective substances that our bodies create. Brussels Sprouts are good for healthy thyroid function and aid in digestion. They are best when harvested from autumn-spring.
Pan Roasted Brussels Sprouts
2 Lbs Brussels sprouts, halved lengthwise
1 TBSP Olive oil
7 Cloves garlic minced
1/2 Bunch fresh thyme or 2 TBSP dried
1 Sprig rosemary or 1 tsp dried
2 tsp Fennel seeds
1 tsp Salt
1 TBSP Vinegar (I used white wine)
Wash the Brussels sprouts, cut off the bottom and halve lengthwise. In a large saucepan cook the sprouts, uncovered, in enough lightly salted boiling water for 3 minutes. Drain well and pat dry with some paper towels.
Place the saucepan back on the stove and heat on high for a few minutes . Reduce heat to medium. Add oil and garlic; cook and stir for 2 minutes or until it starts to turn golden brown.
Carefully arrange half the sprouts, cut side down, in the hot skillet. Top with half the thyme, rosemary, fennel seeds and salt. Cook uncovered 4 minutes or until the sprouts are well browned. Remove sprouts form the pan and repeat with the remaining sprouts and spices.
Subscribe to:
Posts (Atom)